| Allt Nytt | Kalender | Racerbanor | Arrangörer | Forum | Varvtider/Loggar |


 |
RejsaRubberTrac
 Tire sensor enclosure getting closer!
|
22 besök senaste veckan (5459 totalt) |
|
Obviously everyone can make an enclosure just they want it, sensors separated from main board in separate boxes and different ways of mounting it to the car, different materials and so on. Feel free to show your own ideas whatever they are in this thread!
In parallell to every thinkable box and solution you can think of we will in this thread also work on a joint first main design to make available for 3D-printing. I'll post some info on that in a minute. This particular box is early work in progress. _________________  Magnus Thomé Magnus Thomé
|
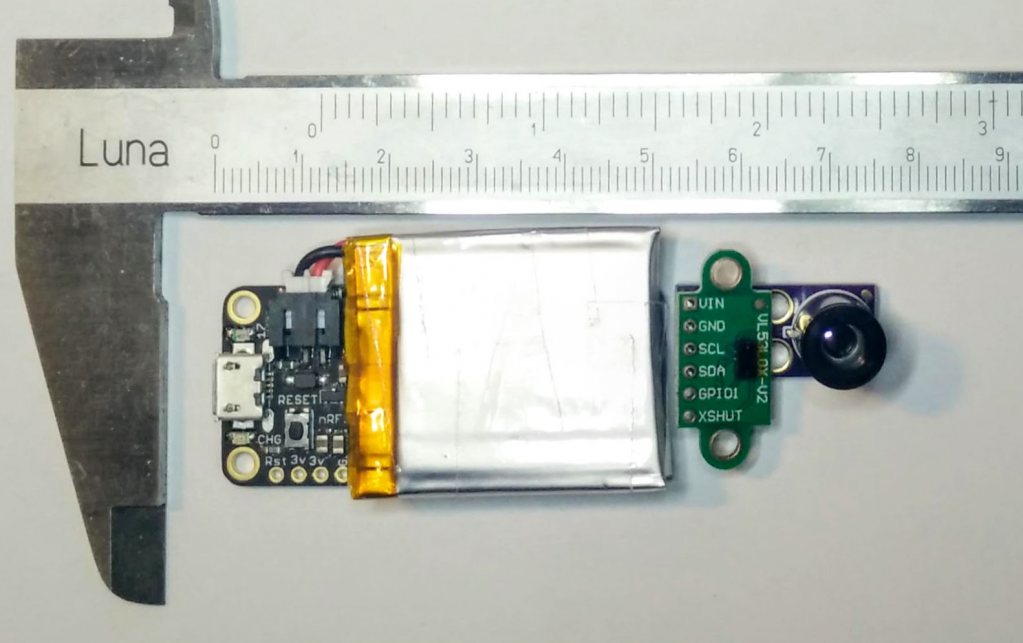
No, this is not it at all! Just a test with a ready made enclosure 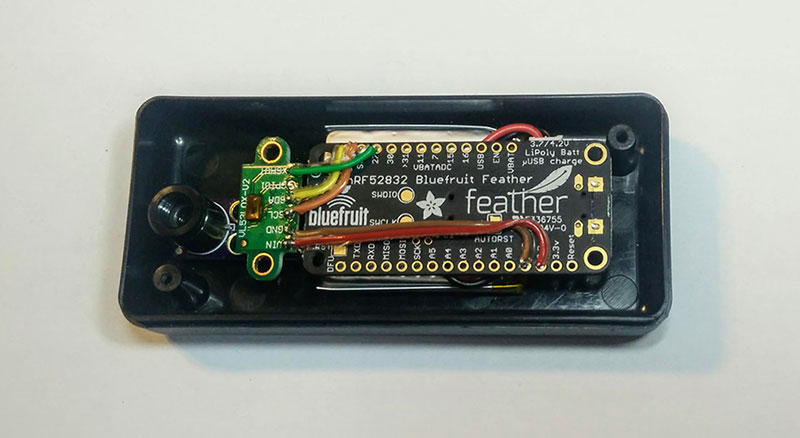
No height measurements yet. Anyone hawk eyed notices an extra PCB in the drawing instead of soldering cables between the boards. I'll get back with more info on that _________________  Magnus Thomé Magnus Thomé
|
|
I'm thinking along these lines... just now that is...
Put all the boards in an enclosure shaped as a tube, the sensortube. Then put that sensortube inside another just slightly larger outer tube (which is mounted to the car). Turn the inner tube in the outer tube to aim! The larger outer tube is just a bit shorter so the sensortube sticks out a bit of it just where its two sensor windows are. --- Second step. Let's say the outer tube is open in one end, where you stick in the sensortube, and closed in the other, the "bottom" of it. This bottom can do two things. First, it'll protect the USB connector. But we can also design a simple aiming lock device here. For example, if the outer tube has a protrusion on the inside, at the bottom, that matches a countersink on the sensortube's bottom, you can lock the angle where these two match up. Then you need to be able to adjust where the protrusion is and lock that where you want it. So you slide the sensortube in, turn it slightly so the protrusion and countersink match up, and slide it in the last bit and it's properly aimed. The final step is a solution to hold them together so the sensortube doesn't slide out by itself. Maybe this is just designing spring action latches, 3D-printed with the plastic housings, letting the plastic be the springs. If this can be done sturdy enough both for abuse and repeated snapping in and out of the sensortube. Otherwise something like this could be used: 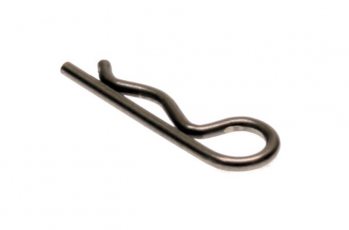
EDIT: To fit everything in the tube including a battery I'm thinking of using a 14500 Li-ion (that's AA size) on the backside of the board. I think that will make it all fit in a smaller diameter than using the flat 500mAh Li-po I've tested with previously. _________________  Magnus Thomé Magnus Thomé
|
|
Ok, totally wrong tool... but here's a rough estimate on sizes
Red = sensor --- 9,5 x 11,5 Green = PCB --- 23 x 6 (sandwiched) Round grey = AA Li-ion 800mAh --- 14mm diam (plus some mm for holder) Rectang. grey = Lipo 500mAh --- 30 x 5 Winner is, by not so much, AA battery 
_________________  Magnus Thomé Magnus Thomé
|
|
_________________  Magnus Thomé Magnus Thomé
|
|
The first iteration of an (ugly!) holder to be mounted on the car and then set at different angles (to aim the sensor correctly at the tire) and then locked at that angle plus some snap-in action for the actual sensor housing was... a bit bulky.
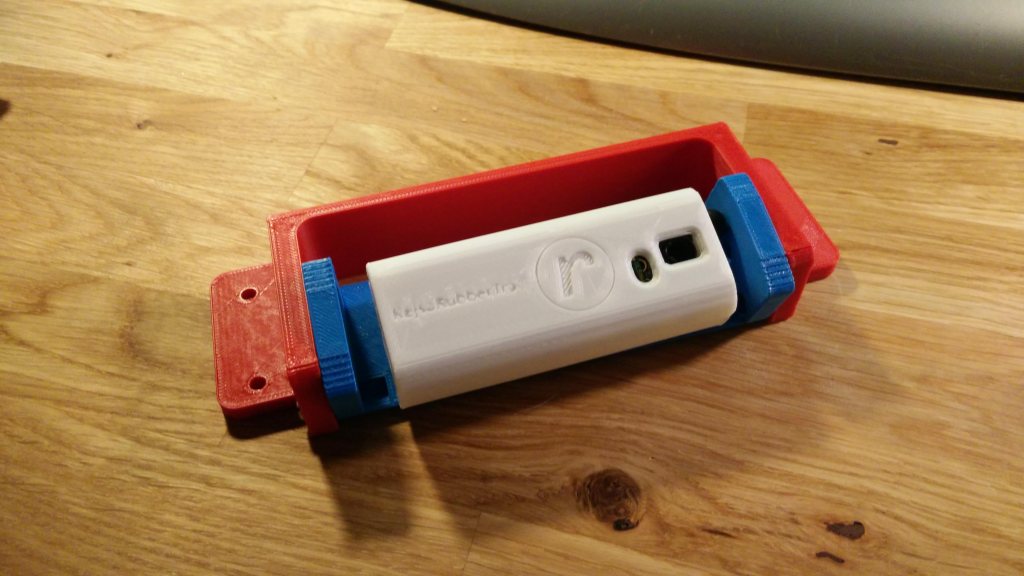
The second iteration, still work in progress, is way smaller 
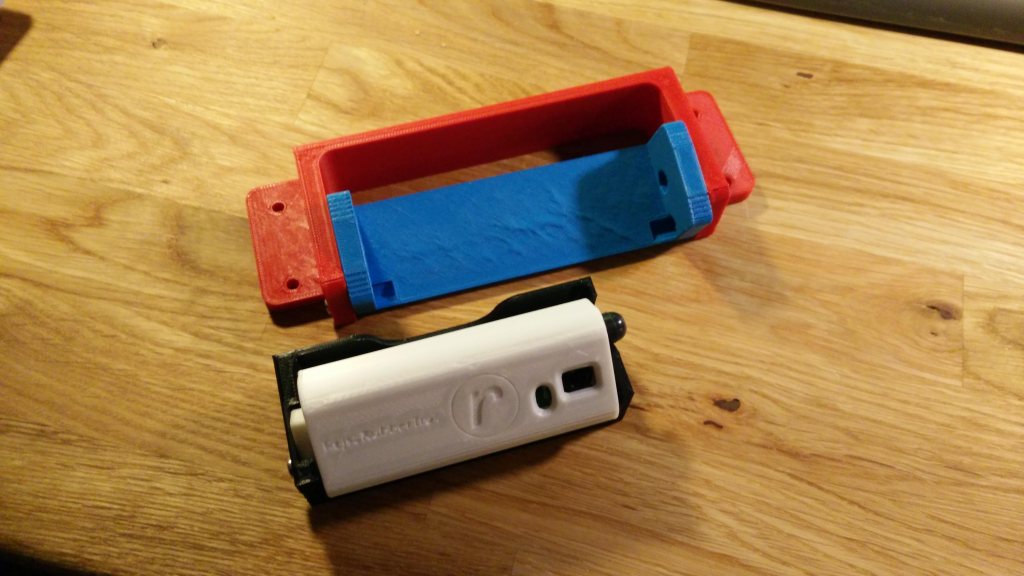
The hinge for choosing any angle - and locking it there - is now to say the least minute. And doubles as a USB connector lid/protection. 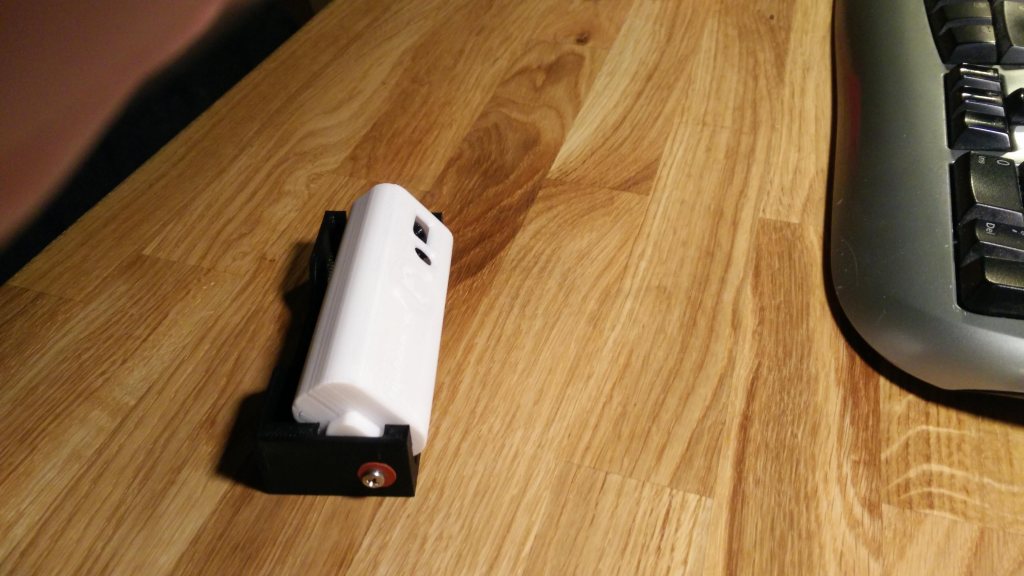
The snap in function is actually there too. But it needs some fine tuning, a handle/lever to ease snapping out the sensor from the holder and also adjusting to get the correct flex and strength in the plastic. 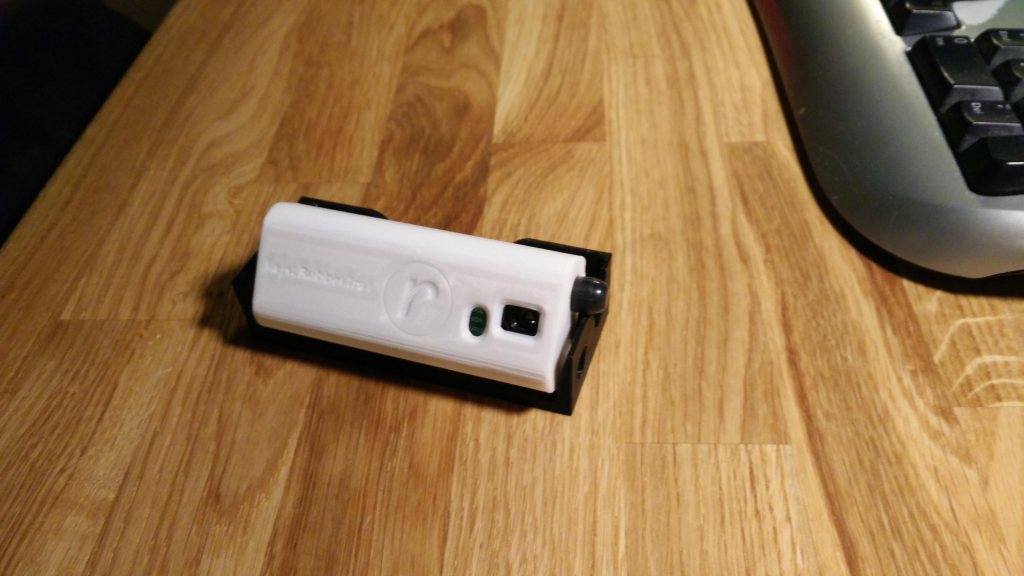
(Everything still just rough low res test 3D-prints, so don't mind the unreadable text and so on  And don't mind all the different colors of all parts.. And don't mind all the different colors of all parts..  ) )
_________________  Magnus Thomé Magnus Thomé
|
 |
RejsaRubberTrac
 Tire sensor enclosure getting closer!
|
22 besök senaste veckan (5459 totalt) |
